Synchronizing with QuickBooks Desktop via TallieConnect Follow
Once you have installed TallieConnect on your computer, you will need to configure the settings to connect with QuickBooks for the first time. After the connection has been established, you will be able to synchronize data from QuickBooks to your Tallie account as long as QuickBooks is on. This article will show you how to configure TallieConnect with QuickBooks and synchronize your QuickBooks data.
Configuring TallieConnect
To configure TallieConnect for QuickBooks integration:
- Ensure your QuickBooks file is currently open as the Admin and in single-user mode.
- Open TallieConnect from Start Menu > TallieConnect.
- Locate the TallieConnect icon in the system tray.
Please Note: You may need to click the upward arrow and look for the icon in the list that appears.

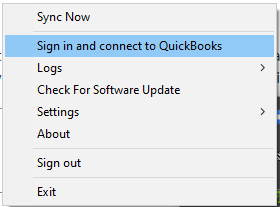
- Right-click the icon and select Sign in and connect to QuickBooks.
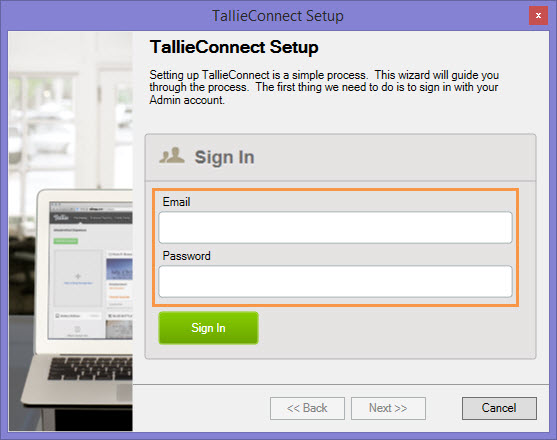
- Login with your Tallie credentials, and click Sign In.
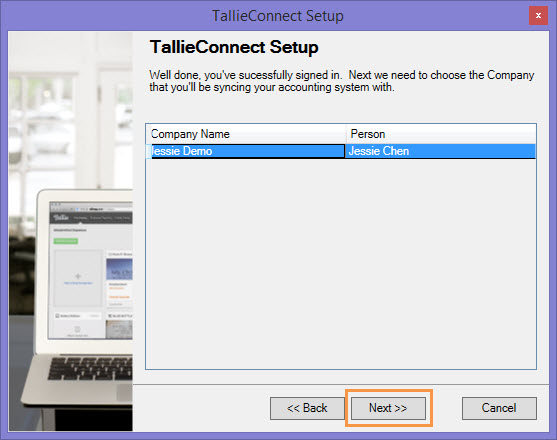
- Your company and account should already be highlighted. Click Next.
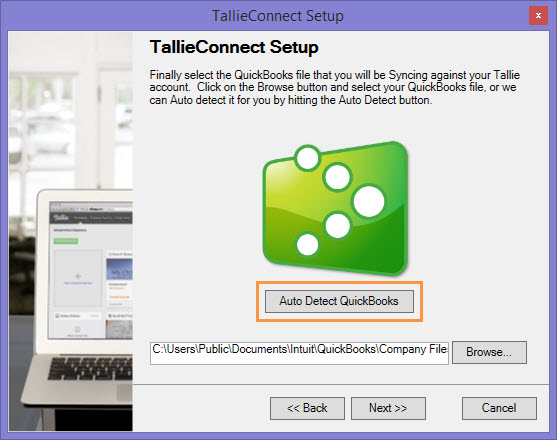
- Click Auto Detect QuickBooks.
- Click Connect to QuickBooks.
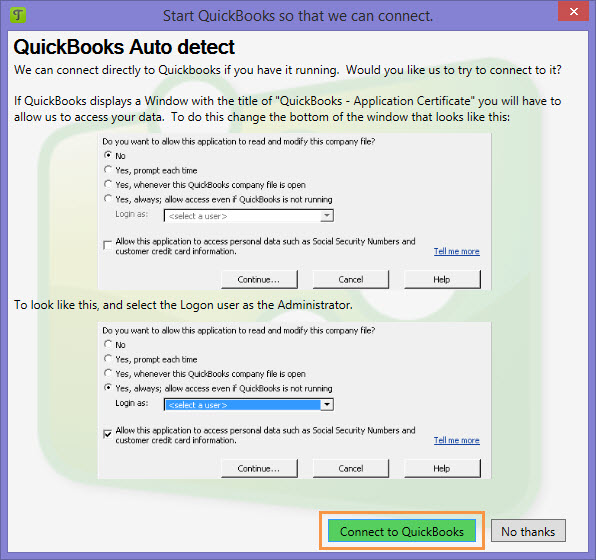
- A window will appear in QuickBooks to verify connection with an Application Certificate:
- Select Yes, always; allow access even if QuickBooks is not running.
- Select Login as: Admin.
- Click Continue, and Done.
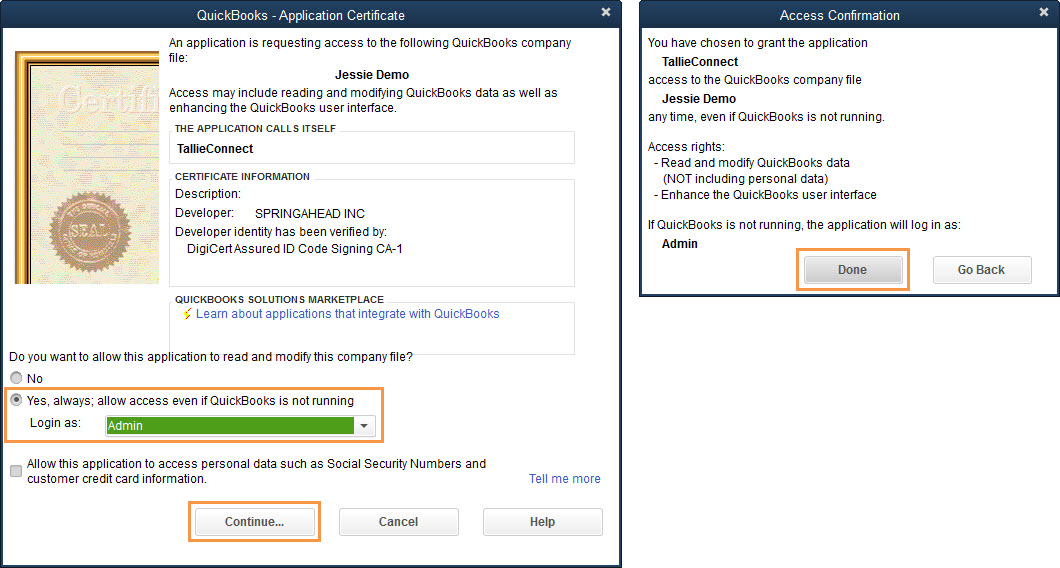
- Your QB file will be populated. Now click Next.
- Click Finish.
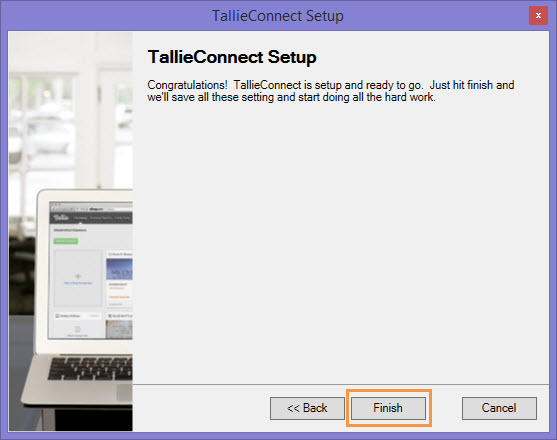
TallieConnect is now linked with your QuickBooks file and ready to perform the initial sync.
Synchronizing With QuickBooks
Now that TallieConnect has been installed, you can run the program by going to your Start Menu > TallieConnect. The icon will appear in your system icon tray on the lower right.
- Real-time, bi-directional sync: When changes or additions are made to your list entities in QuickBooks or Tallie, TallieConnect will immediately perform a sync to mirror the two systems.
- If you need to force a sync or are experiencing issues with the real-time sync, you can also right-click on the icon and click Sync Now.
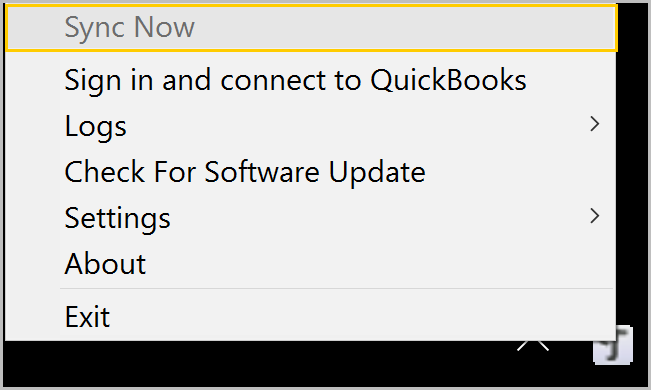
- TallieConnect will remain running in the background until you choose close it manually by right-clicking the icon and selecting Sign Out or Exit.