Purchases Page Overview Follow
All unsubmitted expenses will be located on the Purchases page. You can use the Purchases page to manage and organize your expenses before submitting them in a report. This article will show you how to toggle views, sort headers, and select/unselect all within the Purchases page.
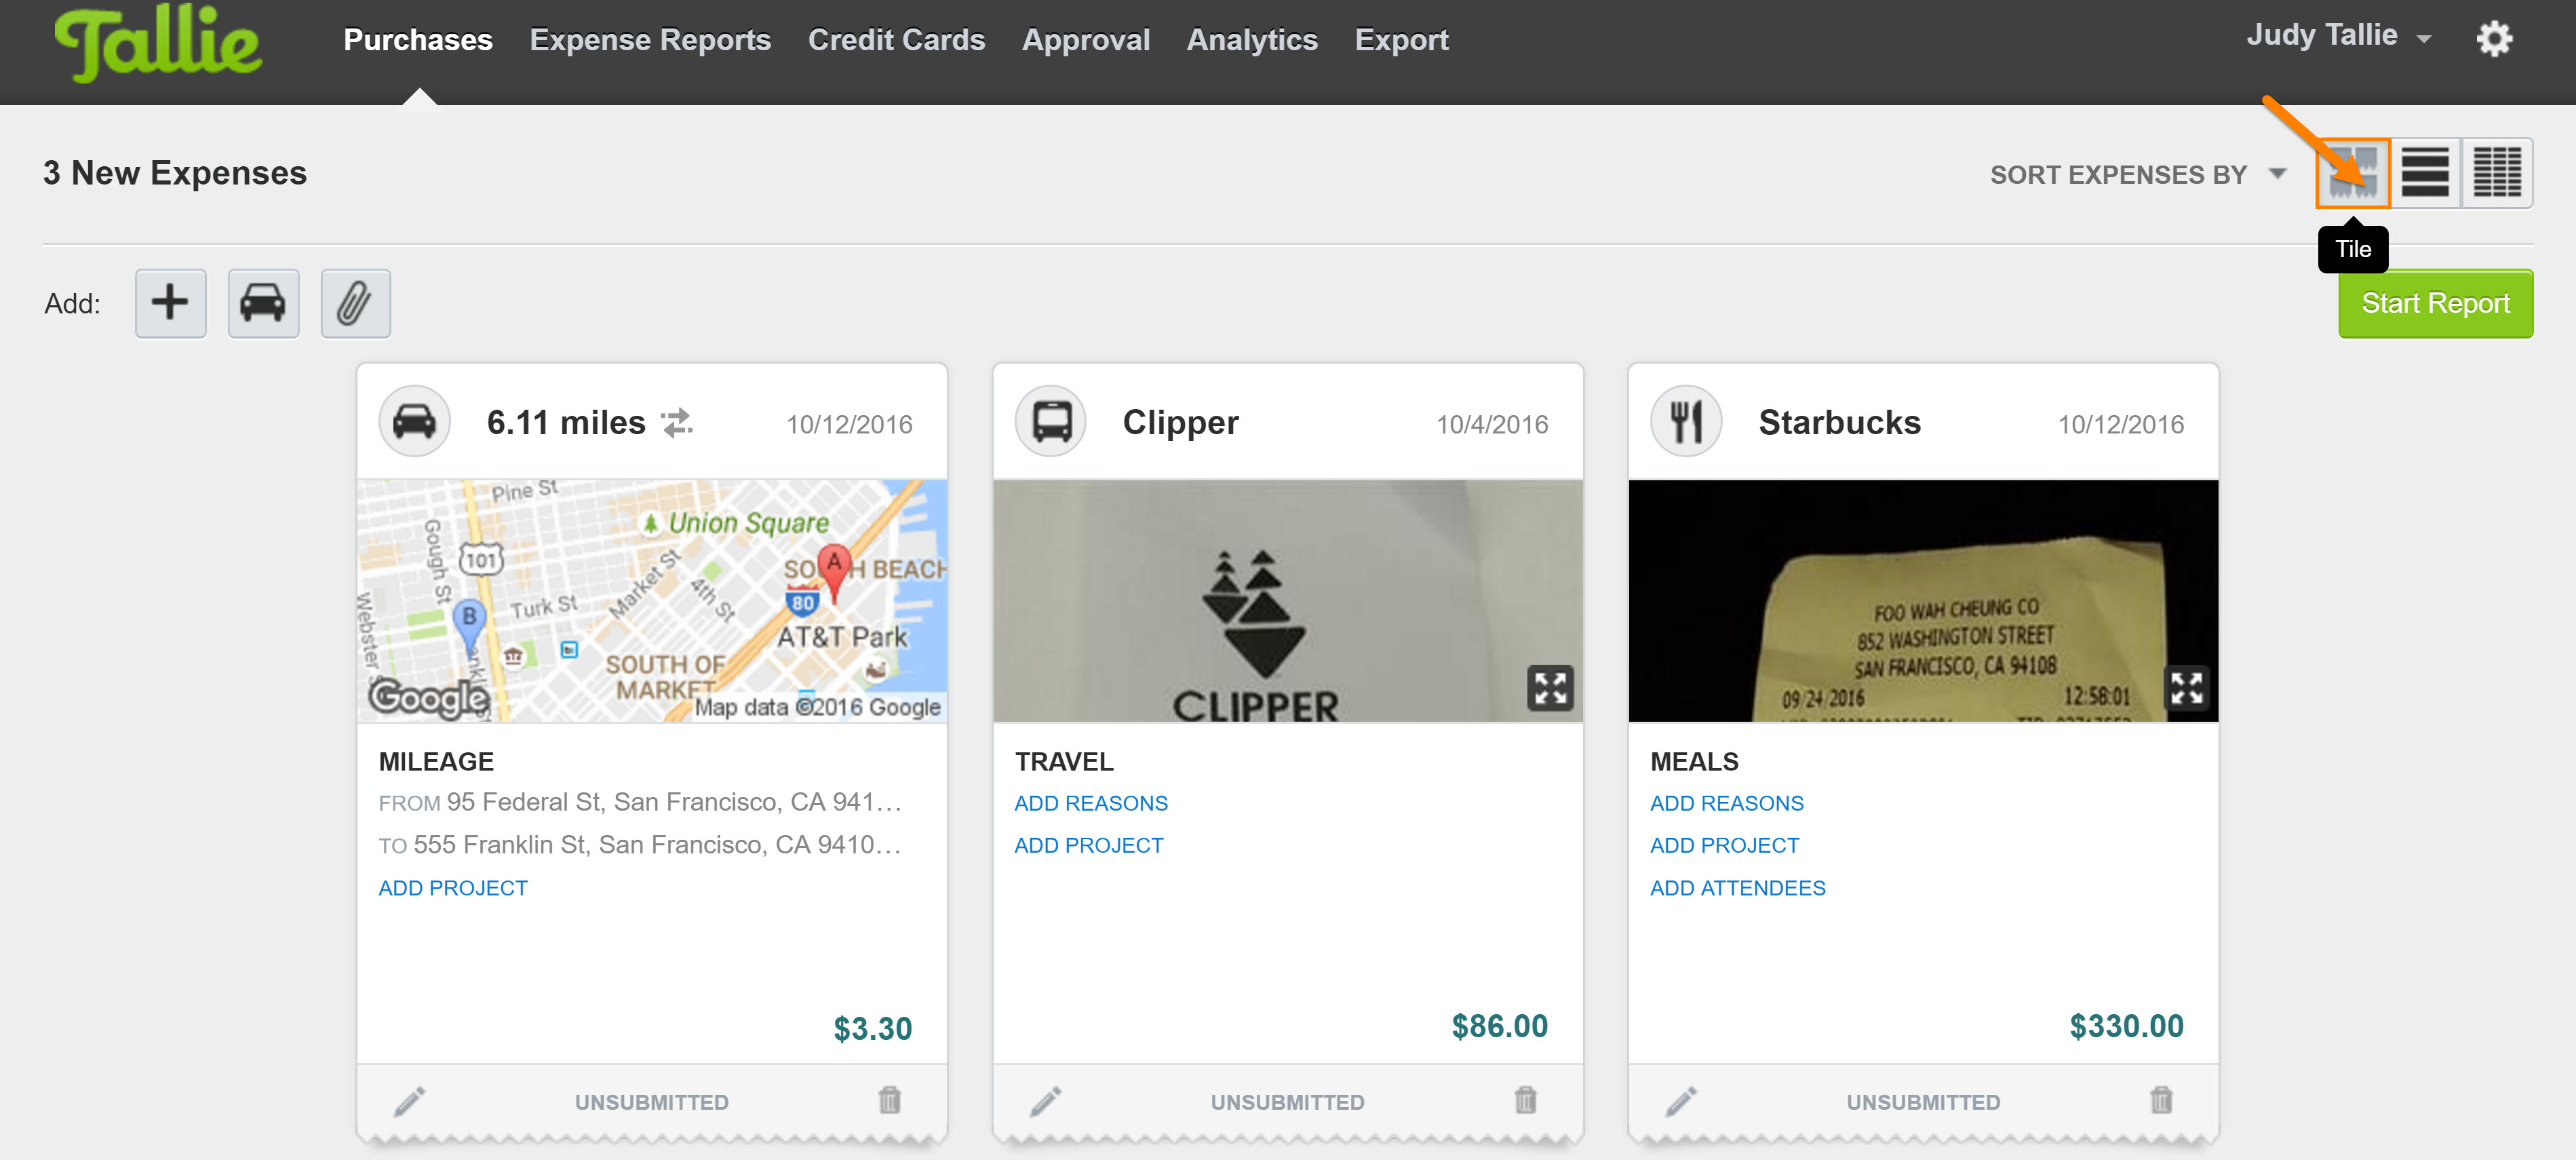
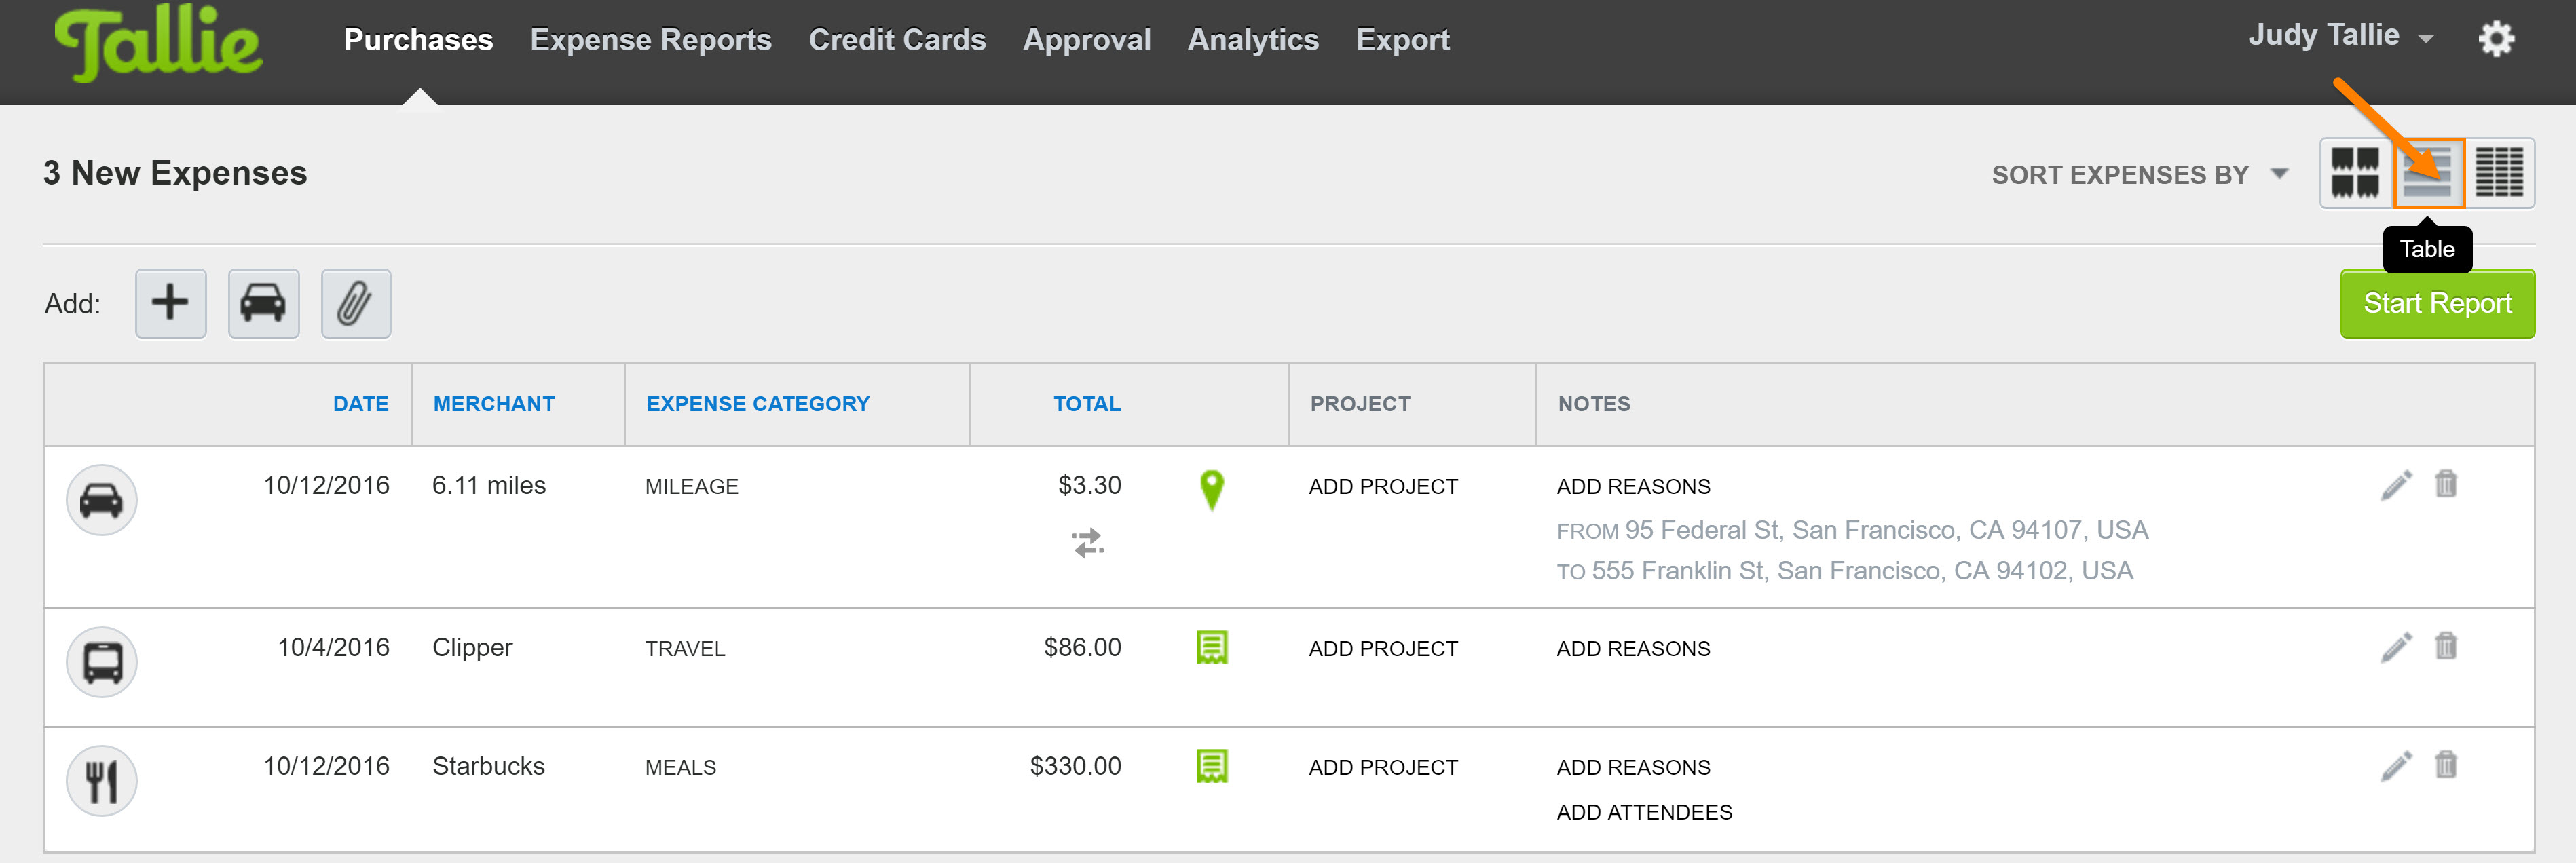
Switch Between the Tile and Table view
- To access the Tile view click the Tiled Receipt Icon in the upper right-hand corner of the purchase page.
- To access the Table view click the Table Icon in the upper right-hand corner of the purchases page.
- To access the Spreadsheet view, click the Spreadsheet Icon in the upper right-hand corner of the purchases page.
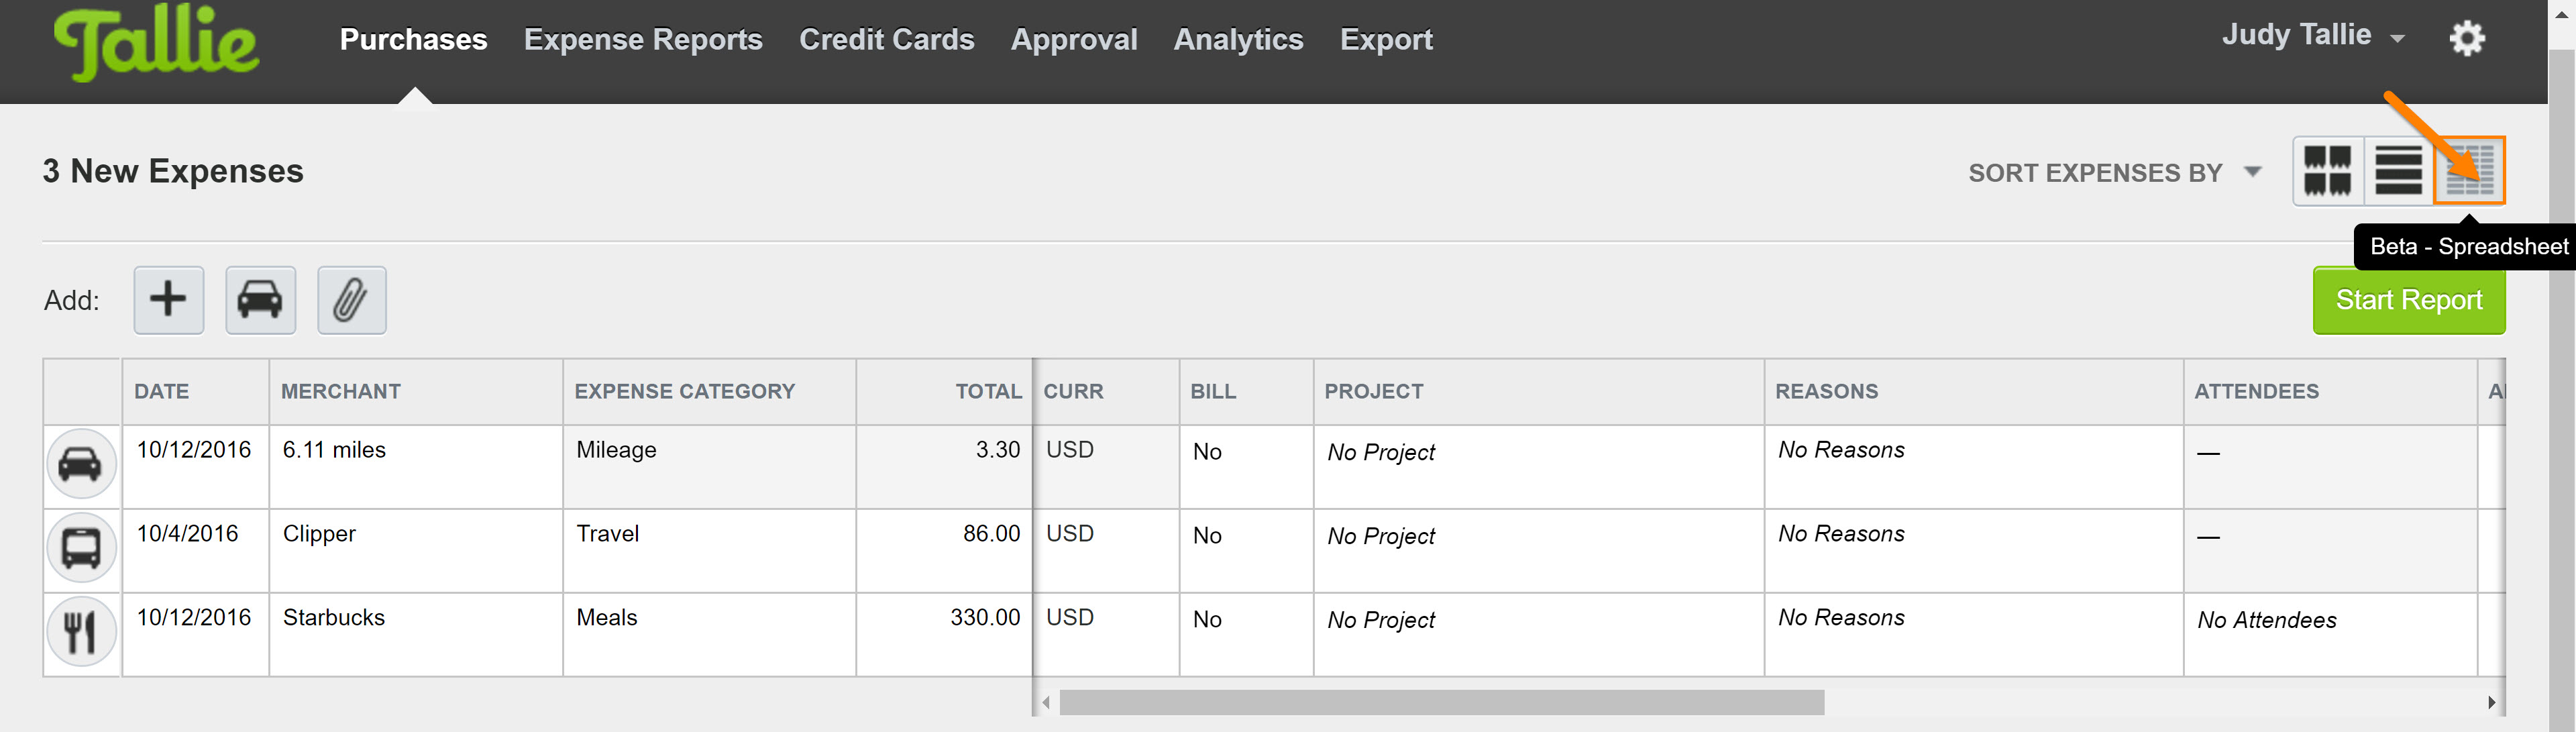
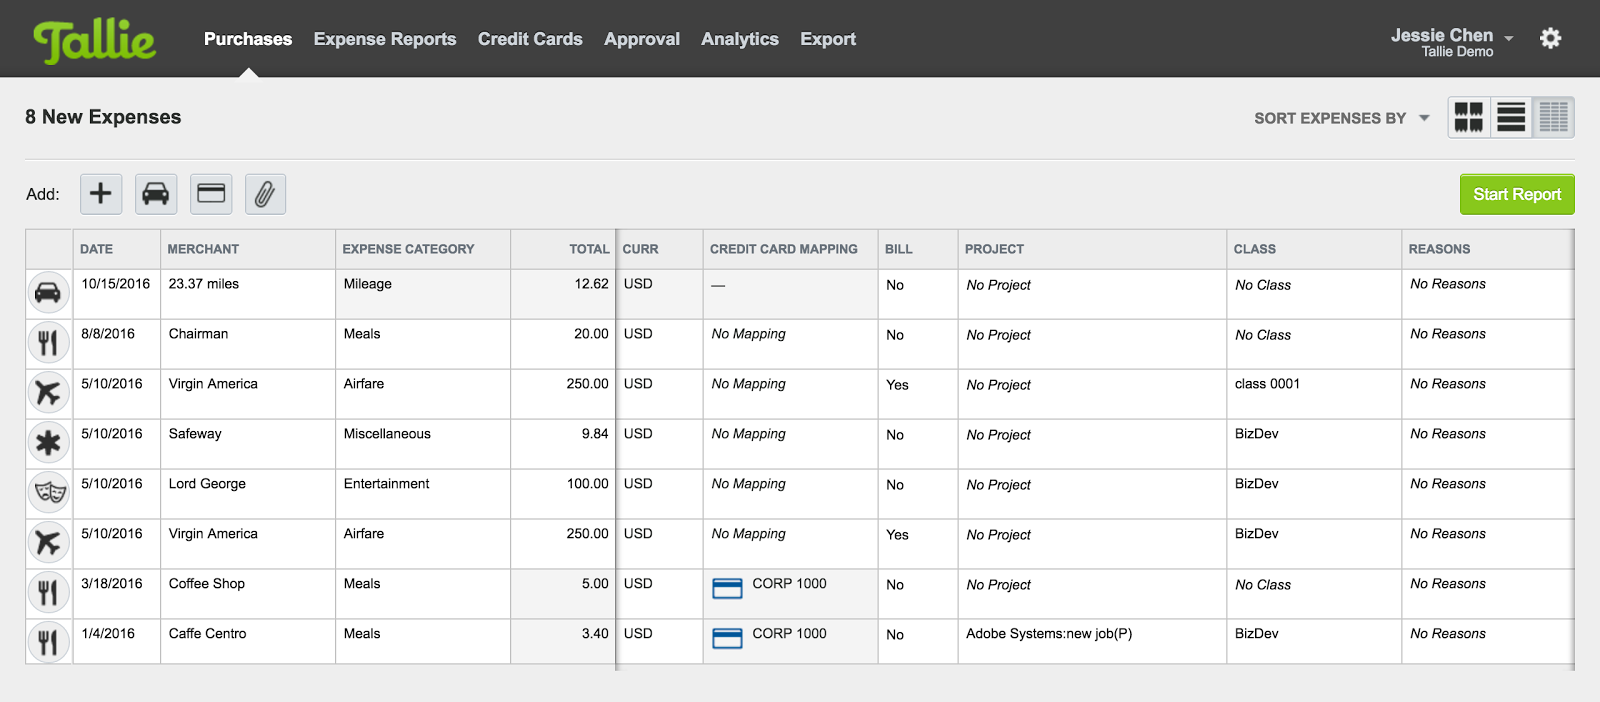
Spreadsheet view
The Spreadsheet view is designed to offer enhanced visibility by displaying all expense details in a spreadsheet table. Each cell is editable and can support tabs and returns to navigate between cells, granting users the ability to rapidly edit their expenses while saving time
- Hit the Return key saves the current cell’s content and navigates to the cell below.
- The Tab key moves the cursor to the cell on the right after saving the current cell’s content.
- Hold down the shift key + Return saves the current cell’s content and takes you to the cell above it.
- Hold down the Shift + Tab saves the current cell before moving the cursor to the cell on the left.
Sort by Column Headers
- From the Table View, you can click the column headers to sort expenses.
- Click the X next to the search field to return to the original display.

Select All/ Deselect All
- Click on the expense tile icon to select an expense.
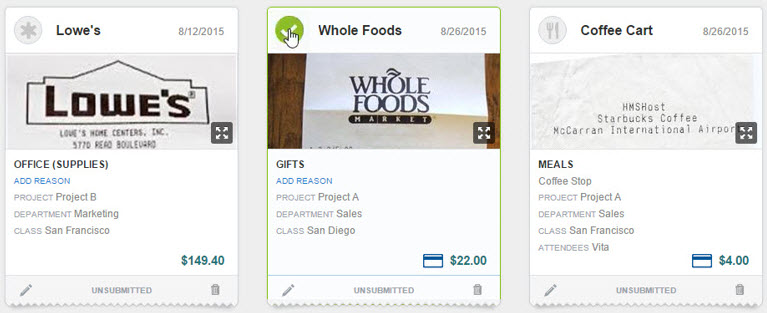
- Once a tile is selected you can click the green button that appears in the left-hand corner to select all.

- Click the button again to deselect all expenses.
