Updating Mileage for the New Year Follow
When looking at your account in the New Year, may notice the mileage icon is no longer available. This is because there is no active Mileage category available to select. The mileage that you were previously using most likely expired at the end of the year, or the active Mileage Category has not been added to applicable groups.
This article will show you, a Tallie Administrator, how to add a new Mileage category for the new year.
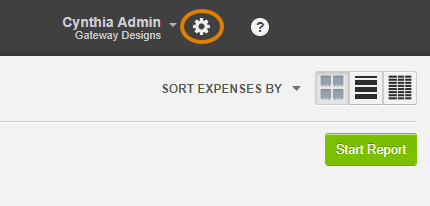
Step 1: Login to your Tallie account, and on your homescreen, click the Settings icon.
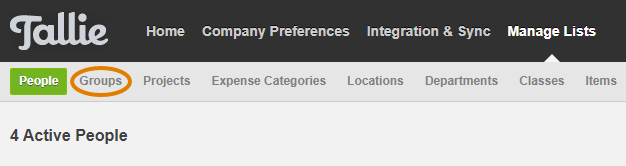
Step 2: Click Manage Lists.

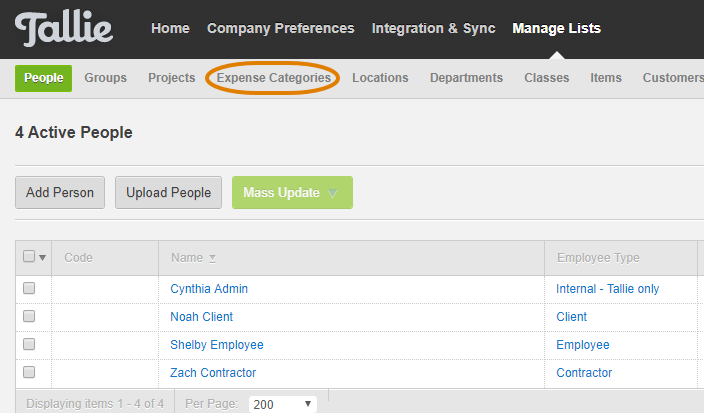
Step 3: Click the Expense Categories tab.
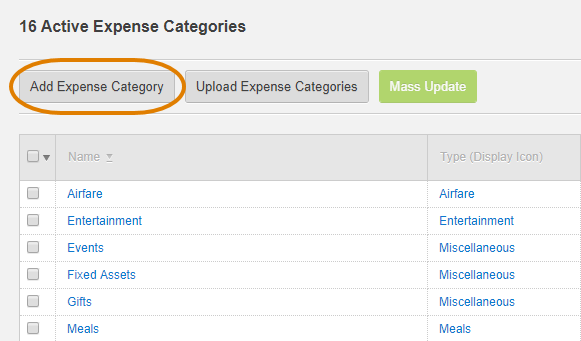
Step 4: From here, click Add Expense Category.
Step 5: The Create Expense Category page will open. Fill in the following information:
- Name: Name your new expense category Mileage [current year] or whatever name works best.
- Type (Display Icon): Make sure this drop-down menu is set to Mileage.
- Fixed Rate: Enter the current year's mileage rate with a leading zero (ie. 0.655)
- Start Date/End Date: Enter the dates for this calendar year
Step 6: Scroll down to the Accounting section and be sure to map the expense category to the correct Expense Account/Item.

Step 7: Click Create.
If you have Groups turned on, you'll want to ensure that your new mileage category is added to any applicable groups.
Step 1: On your Tallie homepage, select the Settings icon.

Step 2: Click Manage Lists.

Step 3: Click the Groups tab.
Step 4: Click the pencil icon next to the group requiring access to your newly created Mileage Category

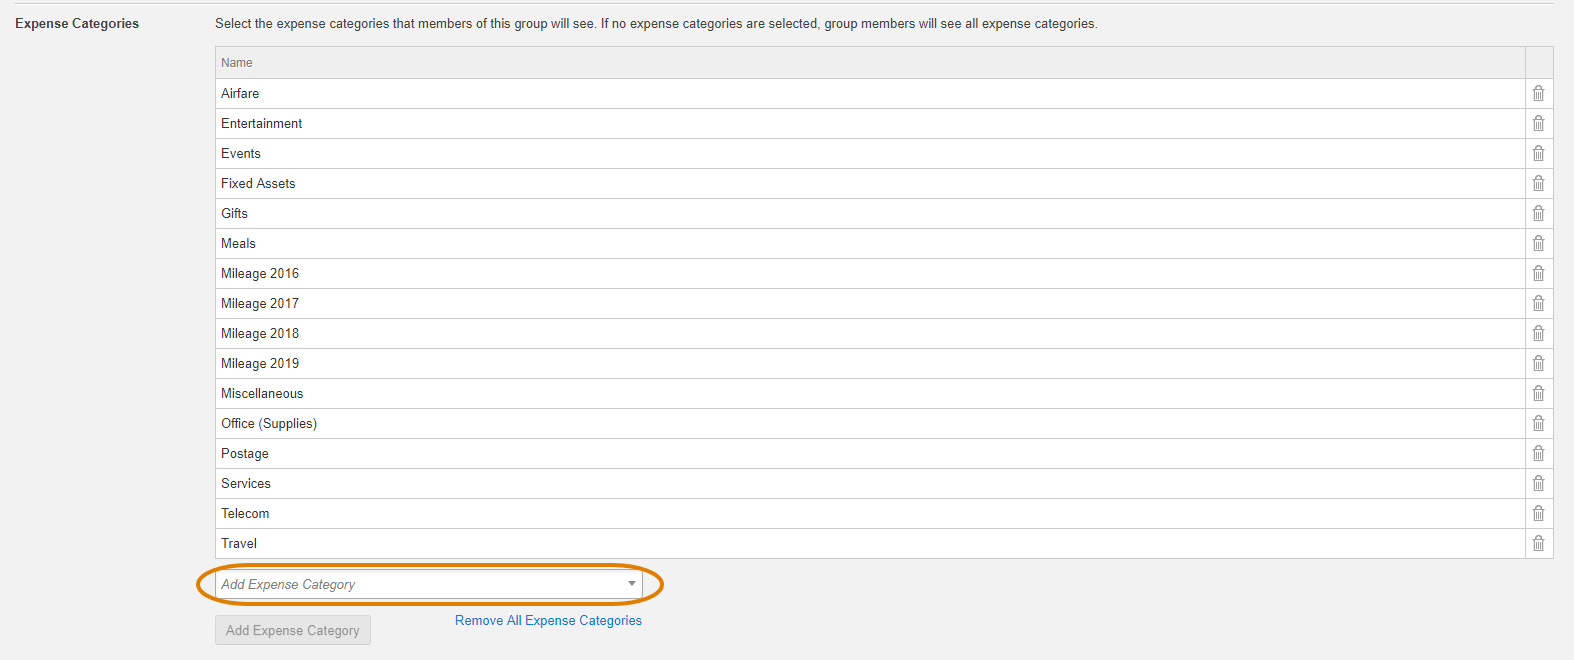
Step 5: Scroll down to Expense Categories and click Add Expense Category to add your new Mileage category.
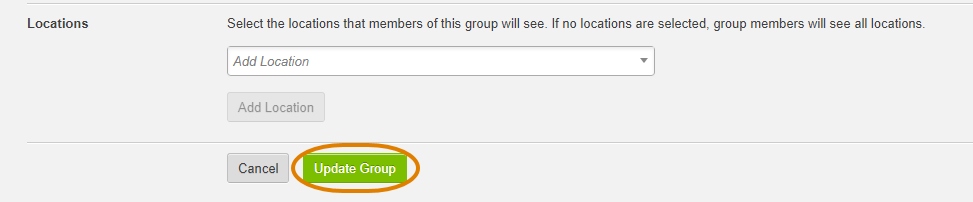
Step 6: Scroll to the bottom of the page and click Update Group.