Enabling Bank Feeds Follow
Tallie has the ability to enable a feed directly from bank and checking accounts. These feeds will transfer checks, deposits, wire transfers, etc. that you may need for reconciliation.
This article will show you, an administrator, how to activate a bank feed.
Downloading Subscriptions to your Sage Intacct Accounts
Step 1: To get the most out of the bank feed feature, we recommend you download certain subscriptions in Intacct. Here is a brief list:
- Cash Management Module - this is required for the bank feed feature to work.
- Platform Services or Customization Services - recommended
- Time & Expense Module - recommended
Creating a Cash Management Account
Step 1: First, create a Tallie sync user. For information on how to do so, check out our article.
Step 2: Login to your Sage Intacct account and click the Cash Management tab followed by Open Setup.
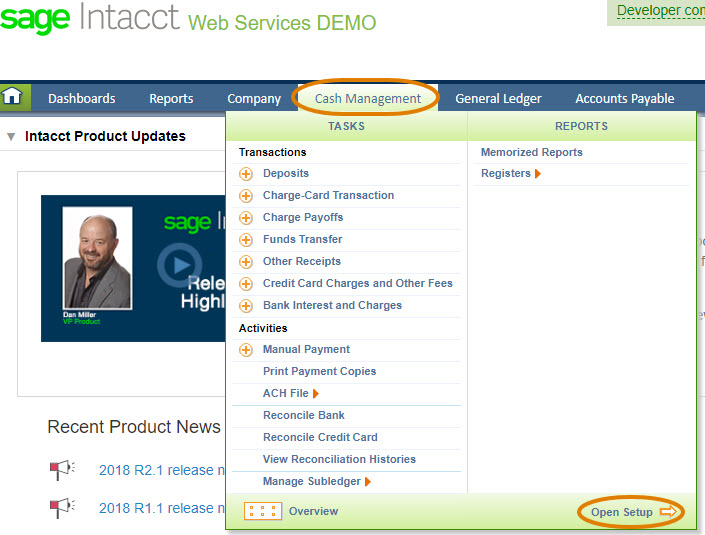
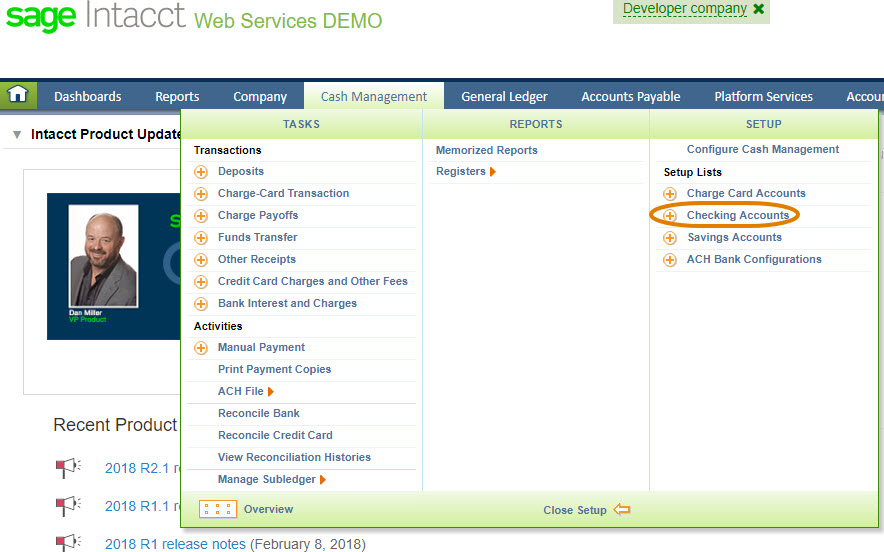
Step 3: Next, click Checking Accounts.
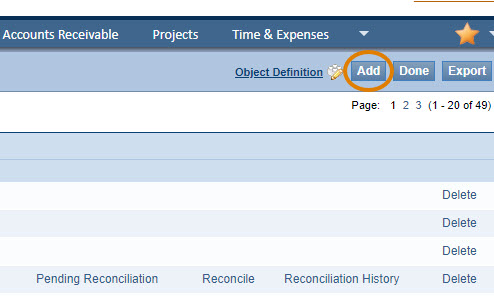
Step 4: From here, add a new checking account by clicking Add in the upper right corner.
Step 5: Enter in your banking information on this page and when complete, click Save.

Please Note: For this feature to work properly, you must have a Cash Management Account for each bank account, as well as a different General Ledger Account.
Step 5: In order for Tallie to be able to send transactions to Sage Intacct that correspond to the Cash Management accounts, a separate Debit-Type Charge Card Account is required for each bank account.
Please Note: When setting up your debit-type charge card account, be sure to select Debit from the Payment Method drop-down menu and map the card to the corresponding Cash Management Checking Account.
Syncing between Tallie and Sage Intacct
Step 1: Once in your client's Tallie account, you'll need to follow the standard syncing steps for either a Single Entity or Multi-Entity environment
- For steps on how to sync for a Single Entity, check out this article.
- For steps on how to sync for a Multi Entity, check out this article.
Connecting a Bank Feed in Tallie
Step 1: Click the gear icon in the upper right corner of your Tallie account.
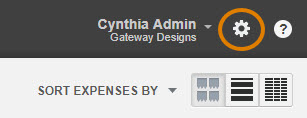
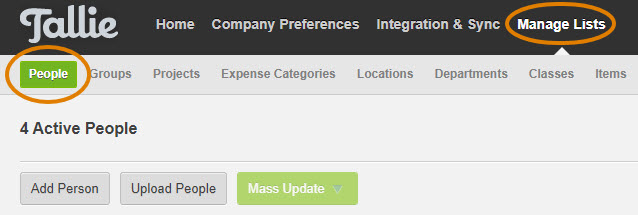
Step 2: Click Manage Lists, followed by People.
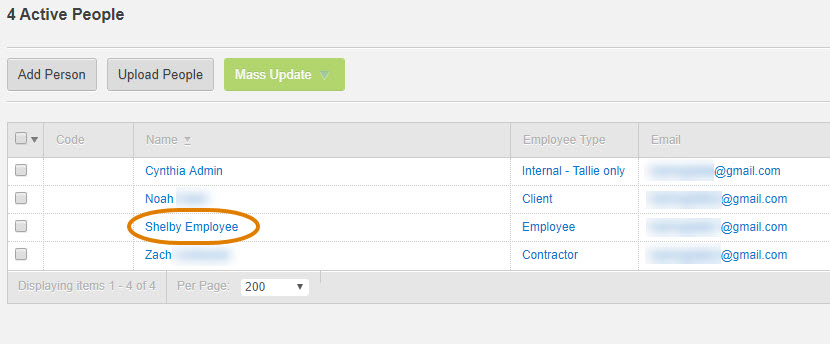
Step 3: Click on the employee you'd like to edit permissions for.
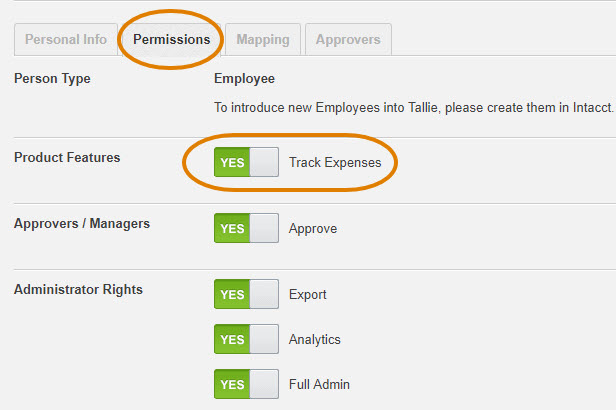
Step 4: Click the permissions tab. Then toggle the Track Expenses button to YES.
Please Note: In order to move forward, you will also need the URL for the banking institution you'd like to link, as well as login credentials for your online banking at that institution.
Step 5: Next, click the Tallie logo in the upper left corner, followed by the Credit Cards tab.

Step 6: Click Add a Credit Card.
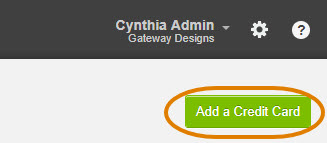
Step 7: From here, fill in your banking information. For further instructions on how to link a credit card, check out our article.
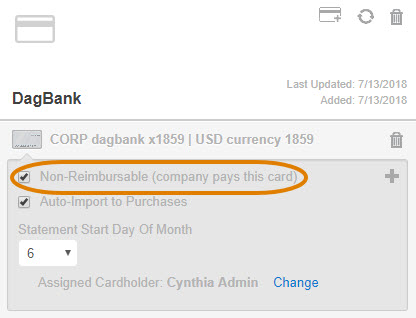
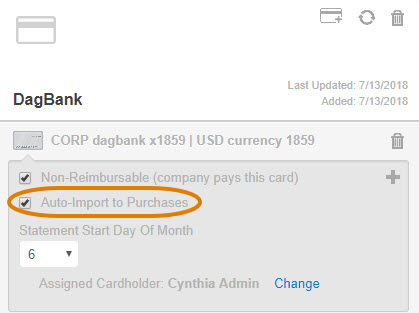
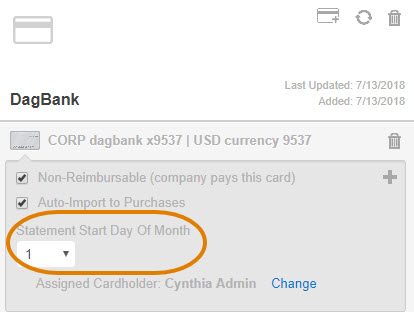
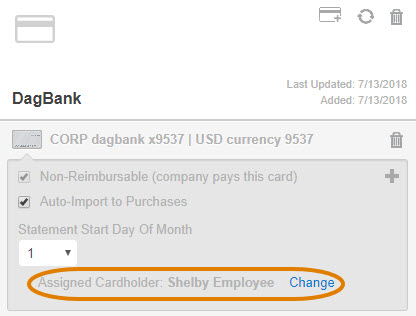
Step 8: Once added, the card will appear in your Credit Cards page. For the bank feed feature to work properly, ensure the following settings are selected for each account:
- Select Non-Reimbursable. This will ensure a payable is not created in Intacct for transactions.
- Select Auto-Import to Purchases. This will ensure all transactions appear in the Tallie account as they are posted to your banking website.
- Be sure the Statement Start Day of Month has the correct day. Most times, this will be 1.
- Be sure the Assigned Cardholder is the person who will be reviewing and editing the transactions.
Configuring Tallie for Export to Sage Intacct
Step 1: Start by clicking the gear icon in the upper right corner.
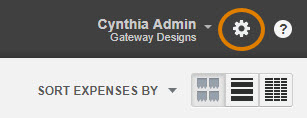
Step 2: Click Integration & Sync followed by Export Settings.

Step 3: Turn off Expense Payment Settings by selecting Archive from the I pay reimbursable expenses through my... setting in the Expense Payment section.

Step 4: Select Credit Card Transactions from the Export non-reimbursable expenses as... drop-down menu in the Non-Reimbursable Expenses section.

Step 5: Select use the transaction date from the when creating transactions drop-down menu in the Non-Reimbursable Expenses section.

Step 6: To complete the sync, you'll need to map the cash management accounts. Start by clicking on Manage Lists followed by Corporate Cards.

Step 7: Choose the Cash Management account that matches with the card on the left. Click Save when complete.
