Editing Individual Expenses Follow
Whether you're editing expenses individually or within an expense report, sometimes you need to make some changes. In Tallie, you can edit your expenses once they're uploaded either on the Purchases page or on the Expense Reports page. Use tools such as edit, itemize and transfer to make changes.
This article will show you how to edit expenses in Tallie.
Editing an Expense on the Purchases Page
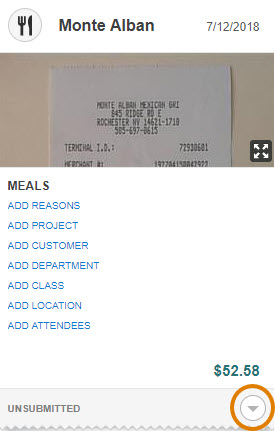
Step 1: When you create an expense on the Purchases page, a new expense tile is created. To make changes within the expense tile, first, hover over the down arrow in the bottom right corner.
Step 2: A pop-up window will appear showing different options for editing an expense. You'll have the option to edit, itemize, copy, transfer, upload, and delete expenses from this menu. To simply edit the information on the expense such as merchant name, expense category, reasons, etc. click edit expense.

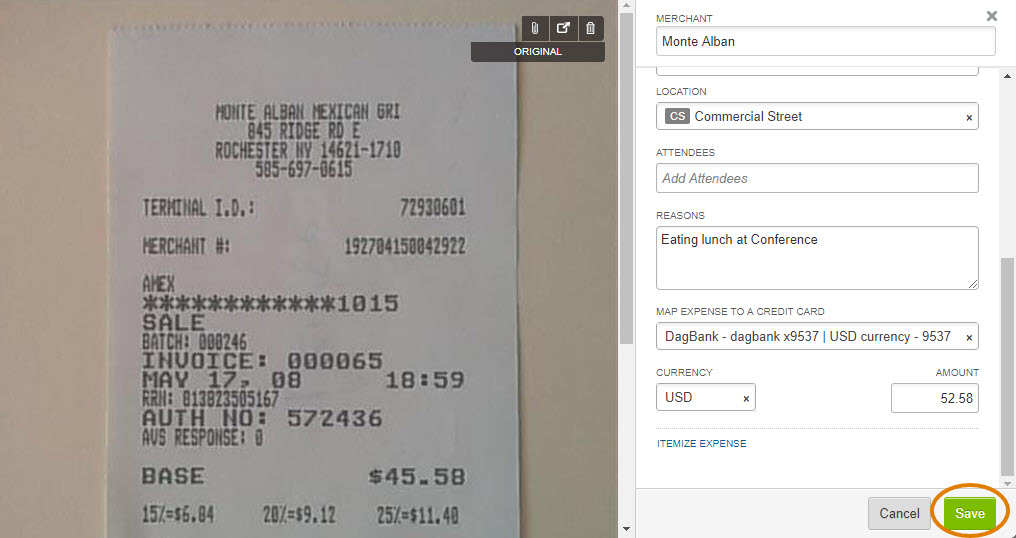
Step 3: From this screen you can edit all of the necessary information. When complete, click Save.
Editing an Expense on the Expense Reports Page
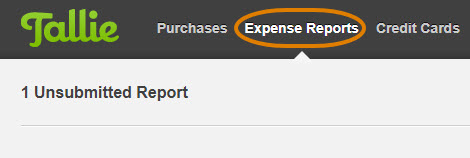
Step 1: When you add a new expense to Tallie, it is automatically grouped into a report called "New Expenses". To view this report, click the Expense Reports tab.
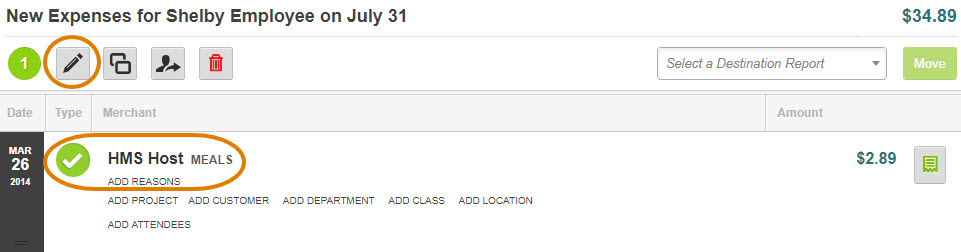
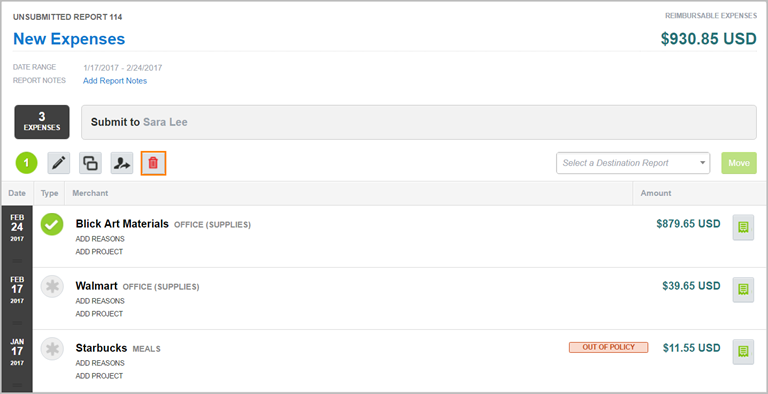
Step 2: To edit a single expense from the report, simply click the specific expense, followed by the pencil icon.
Individual expenses can be deleted by selecting the Trash icon.
Please Note: This will remove the expense from your Tallie account. To move receipts to a different report, see Editing Expense Reports.
Step 3: From here, you can edit any field within the expense, such as Merchant Name or Expense Category. Be sure to click Save when complete.

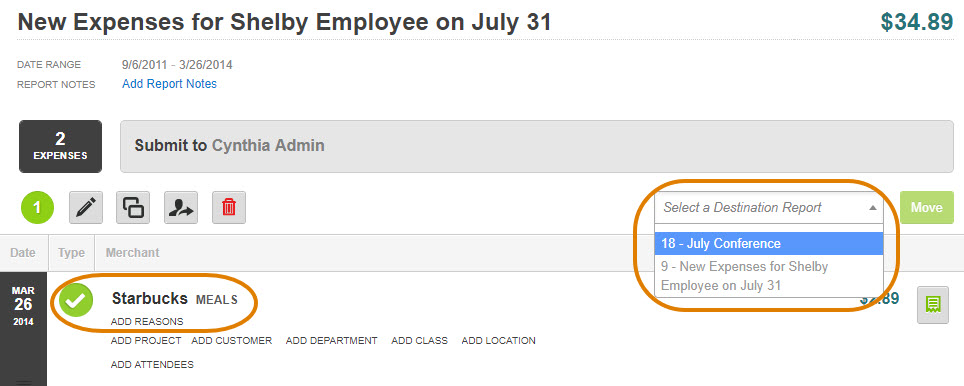
Step 4: You can also move expenses to a different report by first clicking the specific expense you'd like to move. Then, choose the report you'd like to move it to from the Select a Destination Report drop-down menu.
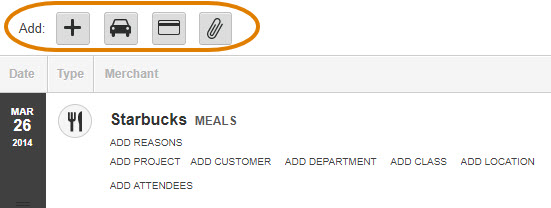
Step 5: You can also add new expenses directly to the report by clicking one of the ADD icons.
Step 6: Mass editing and deleting expenses is also available on this page.