Implementing Tallie Follow
Whether you're using Tallie as a standalone account, or you're integrating it with your existing accounting software, Tallie will be a great resource for your company.
This article will show you, an administrator, how to set up a standalone account as well as integrate with accounting software like QuickBooks and Intacct.
If you do not need a standalone Tallie account due to integrating with an ERP such as QuickBooks, scroll to the subsection Integrating with QuickBooks. Many of the steps to install a standalone Tallie account will be done via syncing data from QuickBooks.
Installing a Standalone Tallie Account
Step 1: To begin, go to www.tallie.com. Click Start a Free Trial at the top of the screen.

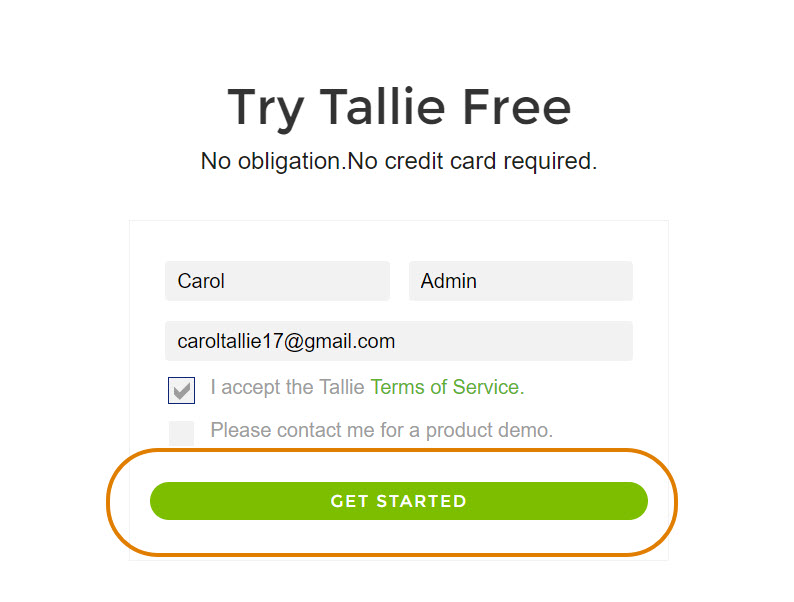
Step 2: Fill in your first and last name, your work email address, and check the I accept the Tallie Terms of Service box. If you'd like to receive a product demo of Tallie, be sure to check the Please contact me for a product demo box. When complete, click Get Started.
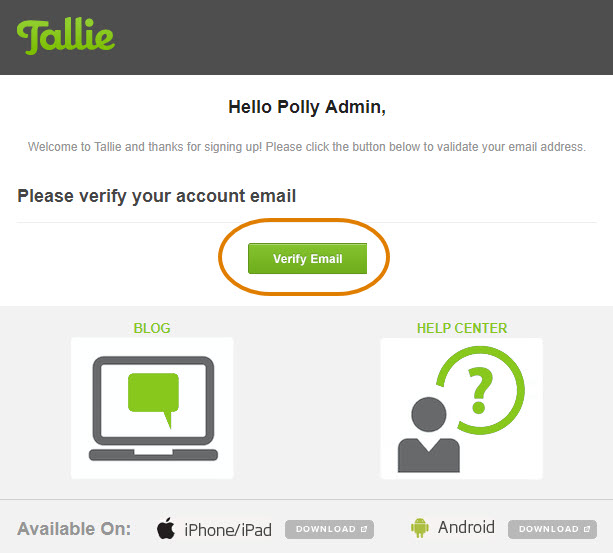
Step 3: Login to the email address you input in the step above. You should have received an email from Tallie. Open it, and click Verify Email.
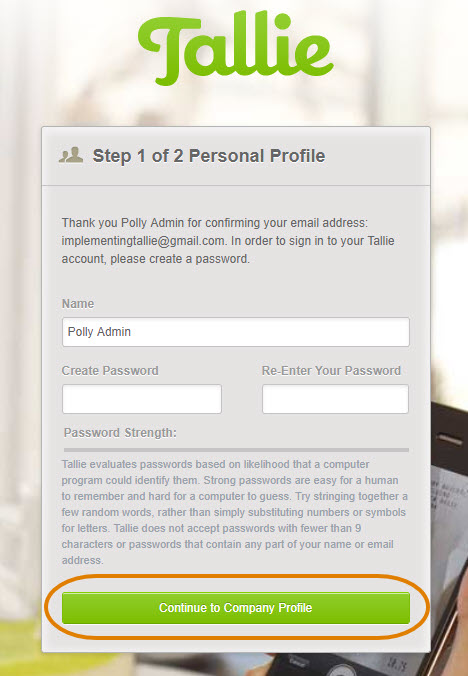
Step 4: You'll now be taken to the Tallie website. Create a unique password for your Tallie account, then click Continue to Company Profile.
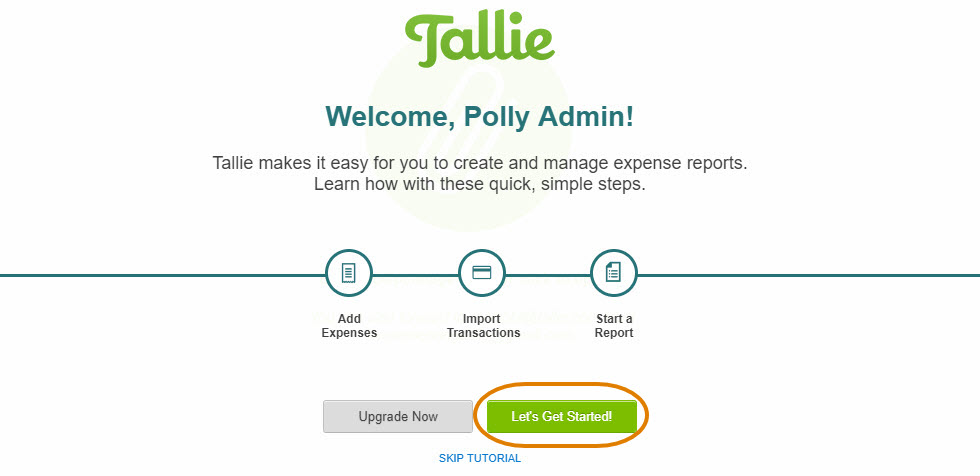
Step 5: Your standalone Tallie account is now implemented. If you'd like, take the tour around Tallie to get more acquainted with the different pages and functions within your account by clicking Let's Get Started!
Step 6: You'll have 14 days in your free trial standalone account before needing to purchase. To purchase the Tallie software at any time within those 14 days, simply click Purchase Now at the top of your screen.

Managing Lists
Step 1: Once your standalone Tallie account is implemented, you can manage lists from your account. To start, click the gear icon in the upper right-hand corner of the Tallie home page.

Step 2: Click Manage Lists. Here you will have all of the different lists you can upload into Tallie.

Managing Lists - Adding People
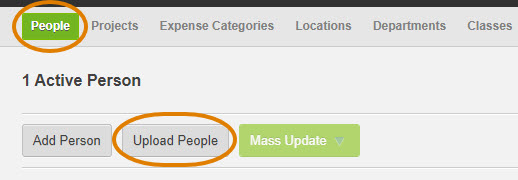
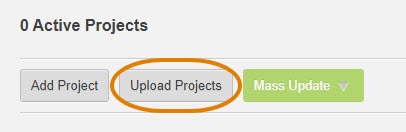
Step 1: To add employees, contractors, or clients, click the People page followed by Upload People.
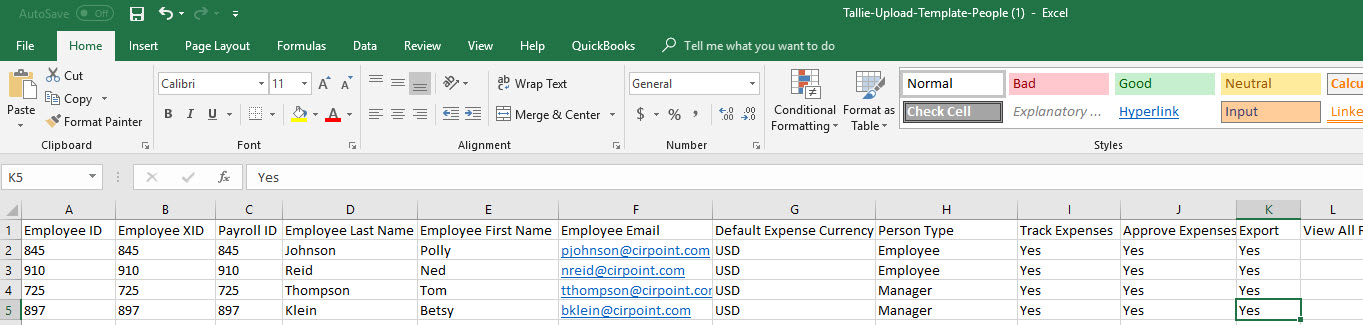
Step 2: To upload information for multiple employees, click Download People list template (CSV) to open an Excel template created by Tallie.

Step 3: From this Excel template, you'll be able to input your employee information such as employee name, address, payroll ID, etc. You do not need to fill out every column.
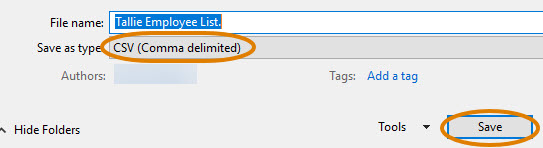
Step 4: When saving your file, be sure to save as a .csv (comma delimited) file.
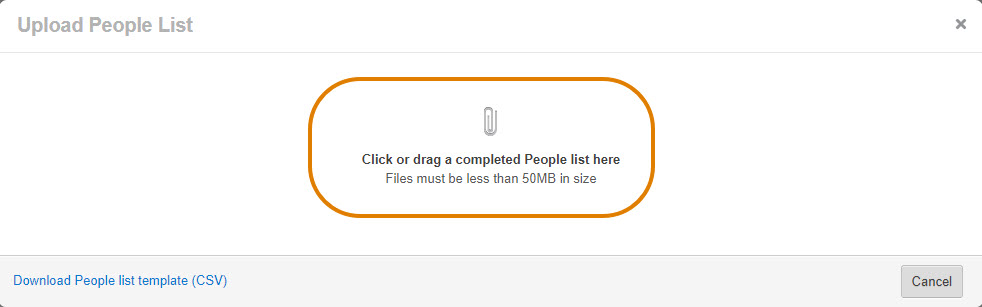
Step 5: You can now upload this file into your Tallie account by dragging and dropping it into the previous screen.
Please Note: You can also upload an employee list you already have on your computer, as long as it is saved as a .csv (comma delimited) file.
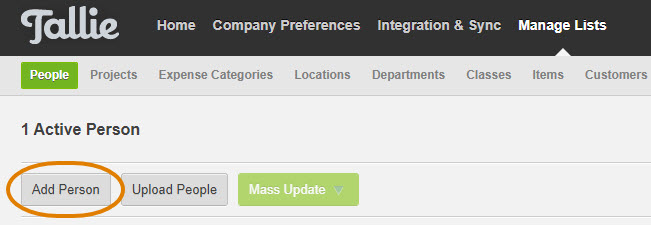
Step 6: To add a single employee, or enter employee information one at a time, click Add Person.
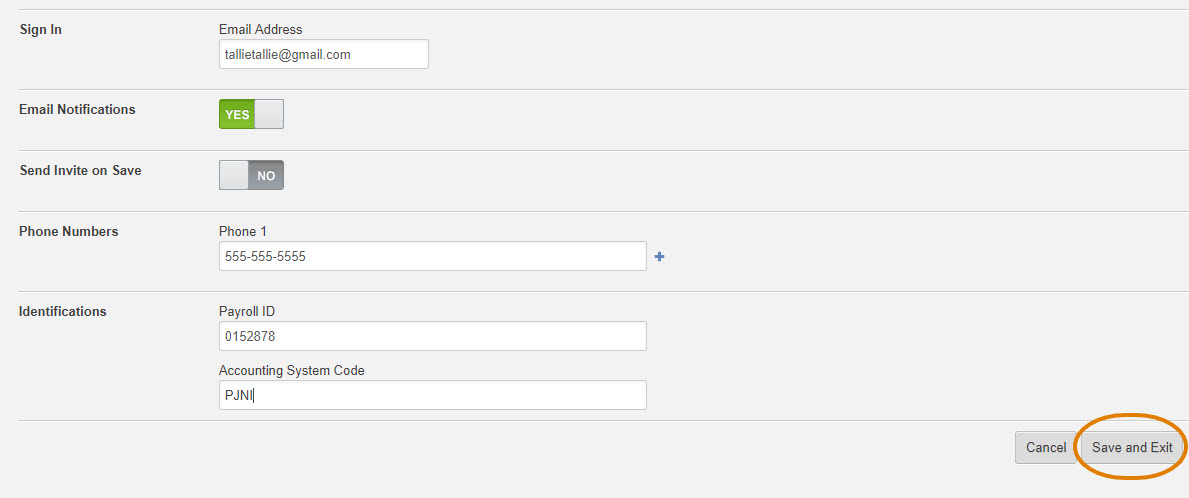
Step 6: Enter in all necessary employee information under the Personal Info tab. When complete, click Save and Exit.
Step 7: You can also add permissions to certain employees and configure individual employee information further.
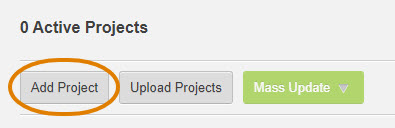
Step 8: To add other company information such as Projects, Expense Categories, Locations, Departments, Classes, etc. click on the appropriate tab.

Step 9: Then, click Add to enter individual details, or bulk upload via .csv as outlined above.
Enabling Features
Step 1: Click the gear icon in the upper right-hand corner of the Tallie home page.

Step 2: Click the Company Preferences tab followed by Features.

Step 3: From this page you can adjust any features you'd like to have on your account. The Expense Data Item features will appear on an expense tile when you or an employee uploads a new receipt or expense. Be sure to toggle them on if you'd like them to appear on an expense.
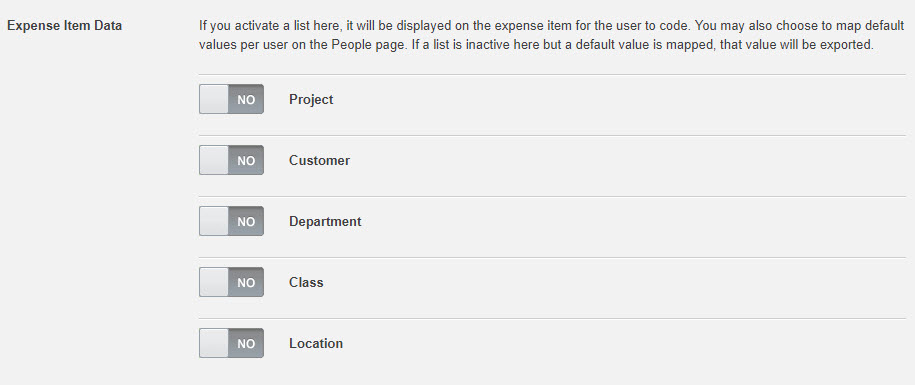
Step 4: As you toggle on each feature, a new group of settings will appear. Under Project for example, you'll have the ability to check off Require Project for all expenses, By default mark all new expenses billable, etc.

Step 5: Under the Enhancements section, there are more features to choose from including Policies, enabling Executive Assistant, allowing Monetary Approval Levels, etc. To enable any of these features, simply toggle them on.

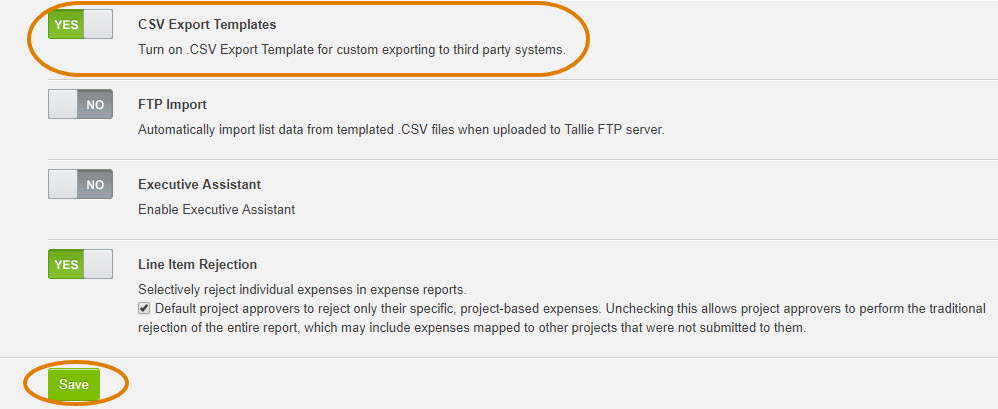
Step 6: For standalone Tallie accounts, it's important to turn the CSV Export Templates on. This way you can custom export the information in your Tallie account to be able to run reports, or upload to paychecks. Click Save at the bottom of the screen when all of your features are complete.
Building your .csv
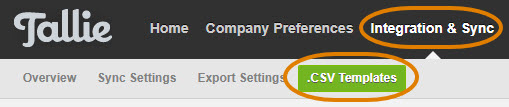
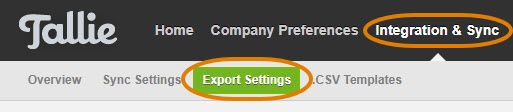
Step 1: Click Integration & Sync followed by .csv Templates.
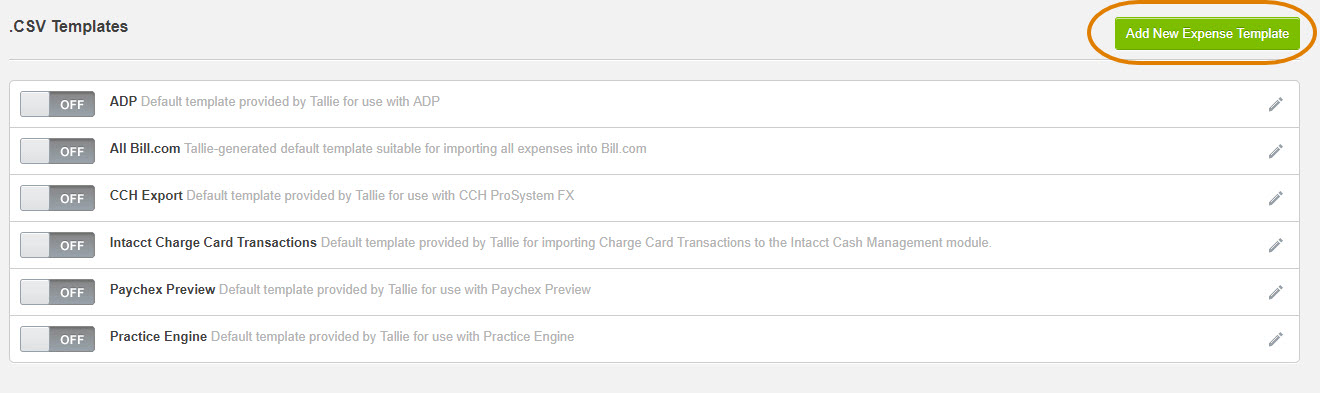
Step 2: From here, you can choose from the different pre-populated accounting system templates that Tallie has. If you'd prefer to create your own, click Add New Expense Template.
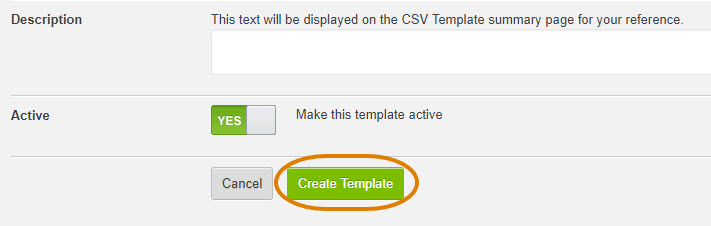
Step 3: Enter in the information for the new template and when complete, click Create Template.
Step 4: Next, go to Export Settings under Integration & Sync.
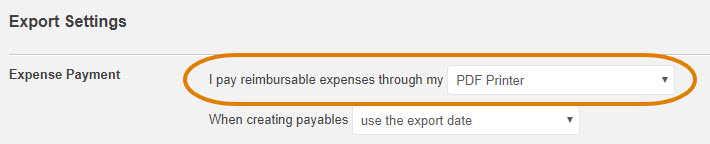
Step 5: On this page, be sure that the PDF Printer option is chosen from the I pay reimbursable expenses through my drop-down menu under the Expense Payment section. This will allow you to build PDFs in Tallie that you can download, print, or save.
Integrating with QuickBooks
Step 1: If you're already using QuickBooks for your accounting software, you won't need a standalone Tallie account. Instead, you can sync your Tallie account with your QuickBooks account. To start, click the Gear icon.

Step 2: Next, click Integration & Sync.

Step 3: From here, you'll be able to Integrate Tallie with QuickBooks Online or QuickBooks Desktop. You'll do so by first Installing TallieConnect.
Integrating with BILL, Intacct, and Xero
Step 1: You can also integrate your Tallie account with BILL, Intacct for single-entity, Intacct for multi-entity, and Xero. This makes it simple to use Tallie with the accounting software you already have in place.